Our guide below applies to Ubuntu 22.04-23.04 (and likely newer versions as well, last verified with 23.04). Contact support if you think it needs an update.
Prefer a visual guide? Watch the PenguinVPN 2.0 Ubuntu setup guide video.
1. If you don't yet have a subscription to PenguinVPN 2.0 service you'll need to get a subscription.
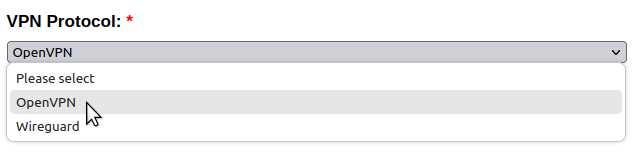
2. When placing an order select the OpenVPN protocol from the drop down list under where it says VPN Protocol.
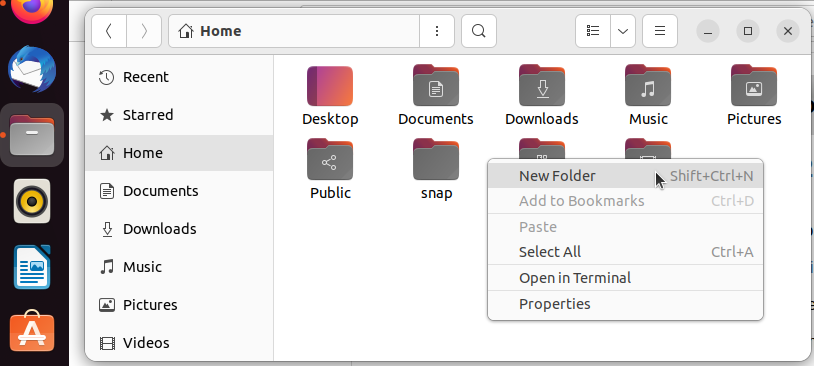
3. Open the file manager (Files) and right click on the white area to create a folder called PenguinVPN in your home folder.
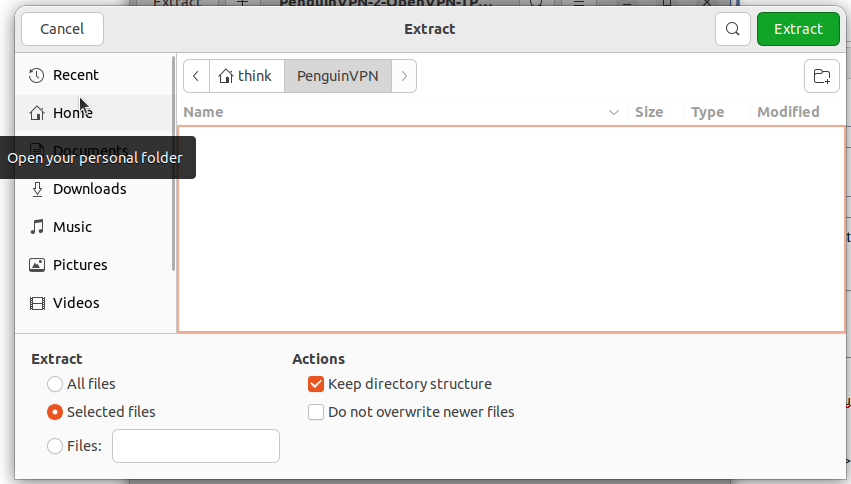
4. Download the PenguinVPN 2.0 configuration, open it in the Archive Manager, and extract the etc folder to newly created PenguinVPN folder.
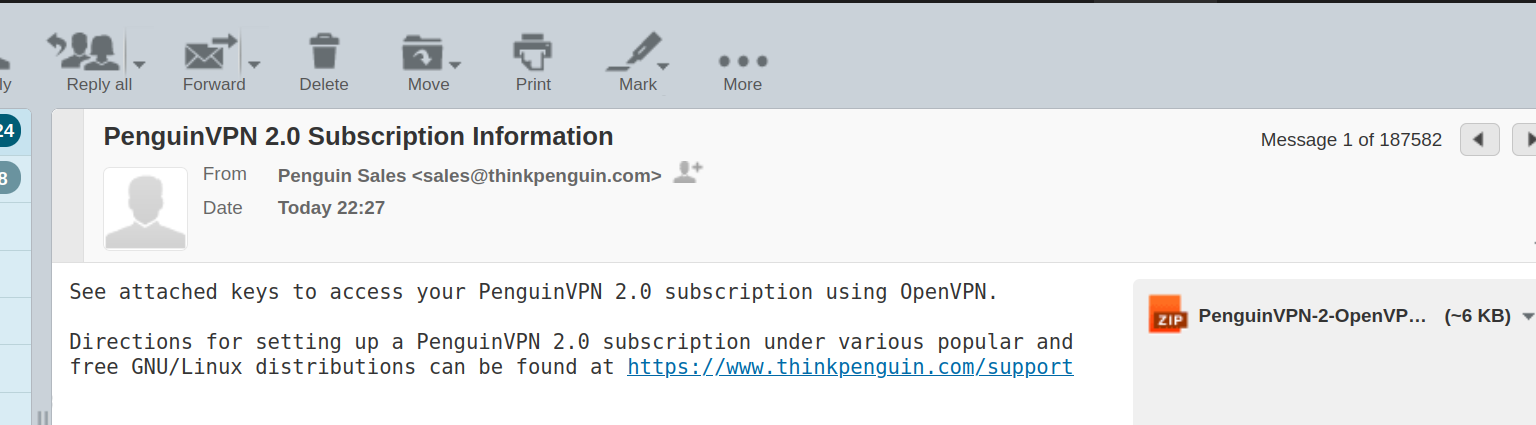
5. Once a subscription has been purchased you'll receive an email containing a compressed file that contains the keys to connect to our PenguinVPN 2.0 servers. You'll need to download and extract the file named PenguinVPN-2-OpenVPN-Keys.tar.gz to your new PenguinVPN/etc/openvpn folder.
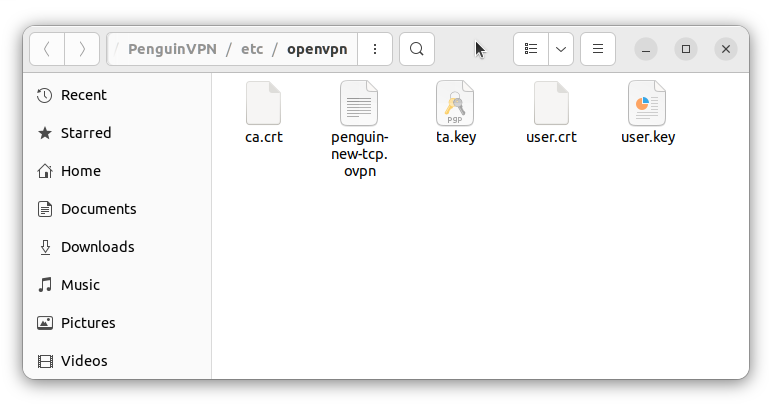
The PenguinVPN/etc/openvpn folder should now contain penguin-new-tcp.ovpn, ca.crt, ta.key, user.crt, and user.key files like shown below:
6. Click on the system tray (network/sound/battery icon in the top right) and open Settings.

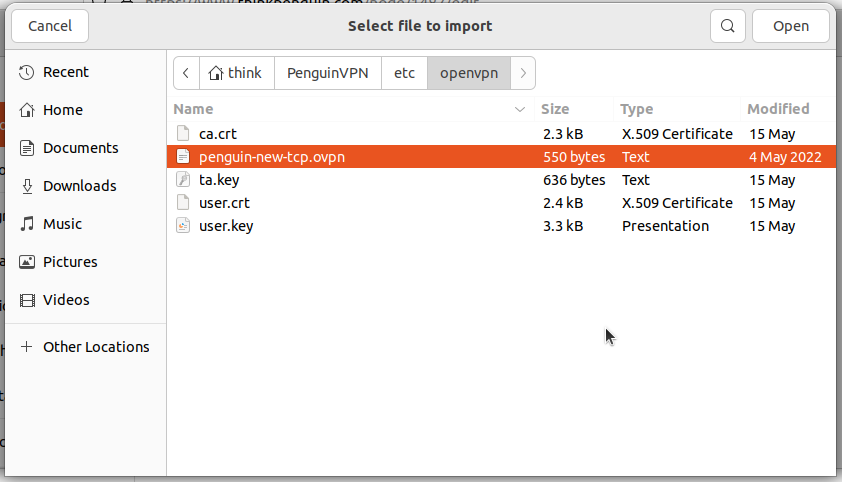
7. Under Network click the + icon next to VPN.
8. Select Import from file... and find the penguin-new-tcp.ovpn file in the PenguinVPN > etc > openvpn folder.
9. Select the penguin-new-tcp.ovpn file and click Open.
10. Click Add.
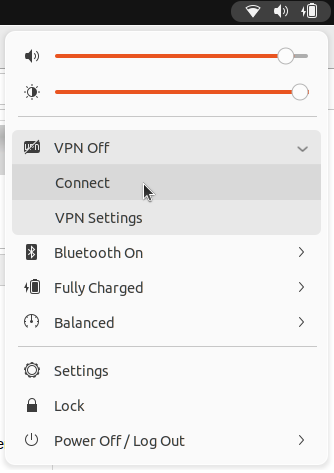
11. In the top right corner click the system tray and select the Connect button under the VPN option to connect
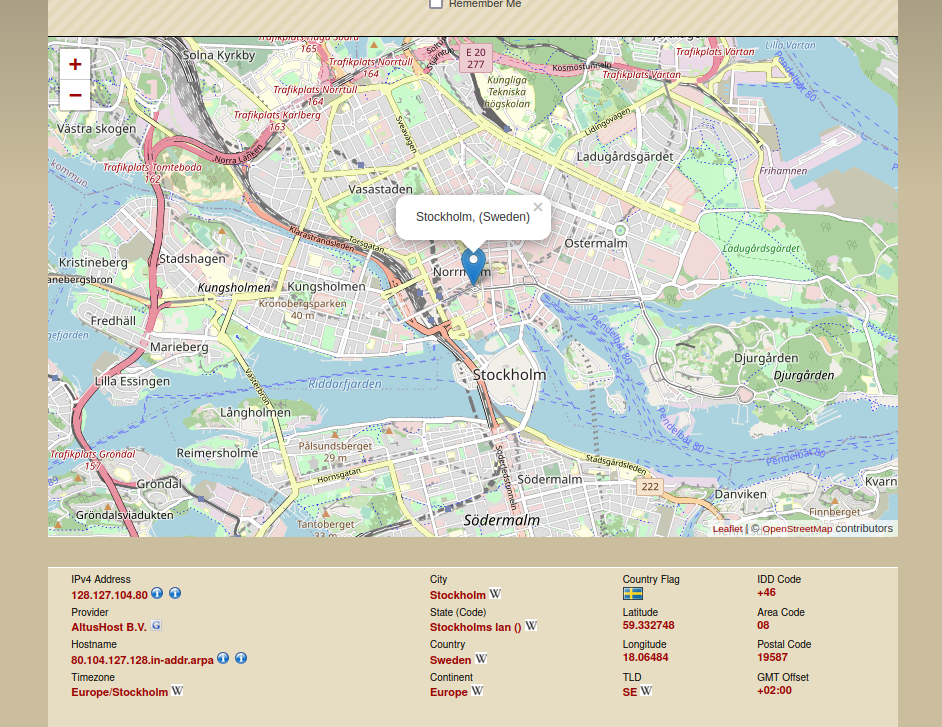
If everything worked then you should see some city/state/country other than your own when you check out what your IP address is. To do that open a web browser and visit http://infosniper.net/ or another similar site to validate your VPN connection is working.