
Unfortunately Trezor the company behind the Trezor T and Trezor Safe 5 has released its Trezor Suite app under a non-free license. The included directions instruct the user to setup and initialize the device using this software. The problem with this is it is non-free and puts the user at risk.
The good news is that the firmware for these devices are released under a set of free software licenses and the hardware can be initialized using free software. The trick is understanding how to go about using the free software to do so, but that's where we come in. We have written up directions on using these devices with with various wallets directly on free and more free software oriented distributions as well as some not-as-free distributions.
On Debian 13 there are two free software friendly wallets we can recommend using with the Trezor Safe 5. One is the Electrum Wallet for Bitcoin transactions and the other is the Feather Wallet for Monero transactions.
Initializing a Trezor Safe 5 on initial purchase using Debian 13
0. Remove the protective screen cover and peel off the tamper evident security seal from the Trezor Safe 5:
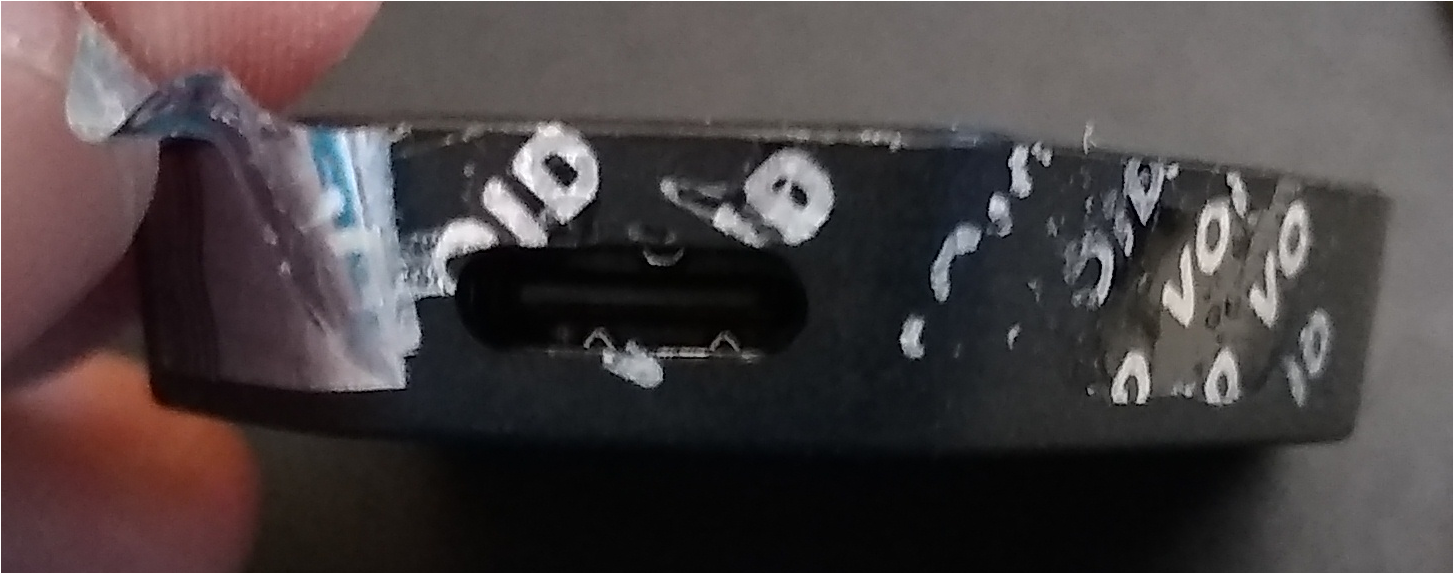
1. Connect the included USB-C cable to the Trezor Safe 5 and the other end to a computer with a USB-C port.
2. Identify the latest Trezor Safe 5 firmware by visiting the official github page:
https://github.com/trezor/data/tree/master/firmware/t3t1
Note: These are the files listed in the following format: trezor-t3t1-*.*.*.bin where the highest number is the latest release, and you can also utilize the date as a basis for figuring out what the most recent version is.
3. Open a terminal and download the latest Safe 5 firmware by running the following commands, but replace 2.12.1 with the latest version of the firmware identified in the step above:
wget https://github.com/trezor/data/raw/refs/heads/master/firmware/t3t1/trezo...
Note: You can type in wget and then copy the link by right clicking the link and selecting Copy Link.
4. Install the Trezor initialization software by running the following command:
sudo apt install wget trezor
5. Run the following command and confirm that the computer detects the device:
trezorctl list
You should get the following indicating it is in bootloader mode and ready to flash:
webusb:001:3 - Trezor Safe 5 bootloader
6. Flash the firmware, but replace 2.12.1 with the version of the firmware identified in prior commands:
sudo trezorctl firmware-update -f ./trezor-t3t1-2.12.1.bin
7. Now that the firmware is flashed it's time to initialize the device by running the following command:
trezorctl device setup --strength 256 --passphrase-protection --pin-protection --label "My Trezor Safe" --backup-type single

8. Tap the screen on the Trezor Safe 5 to agree to the TOS (terms of service).
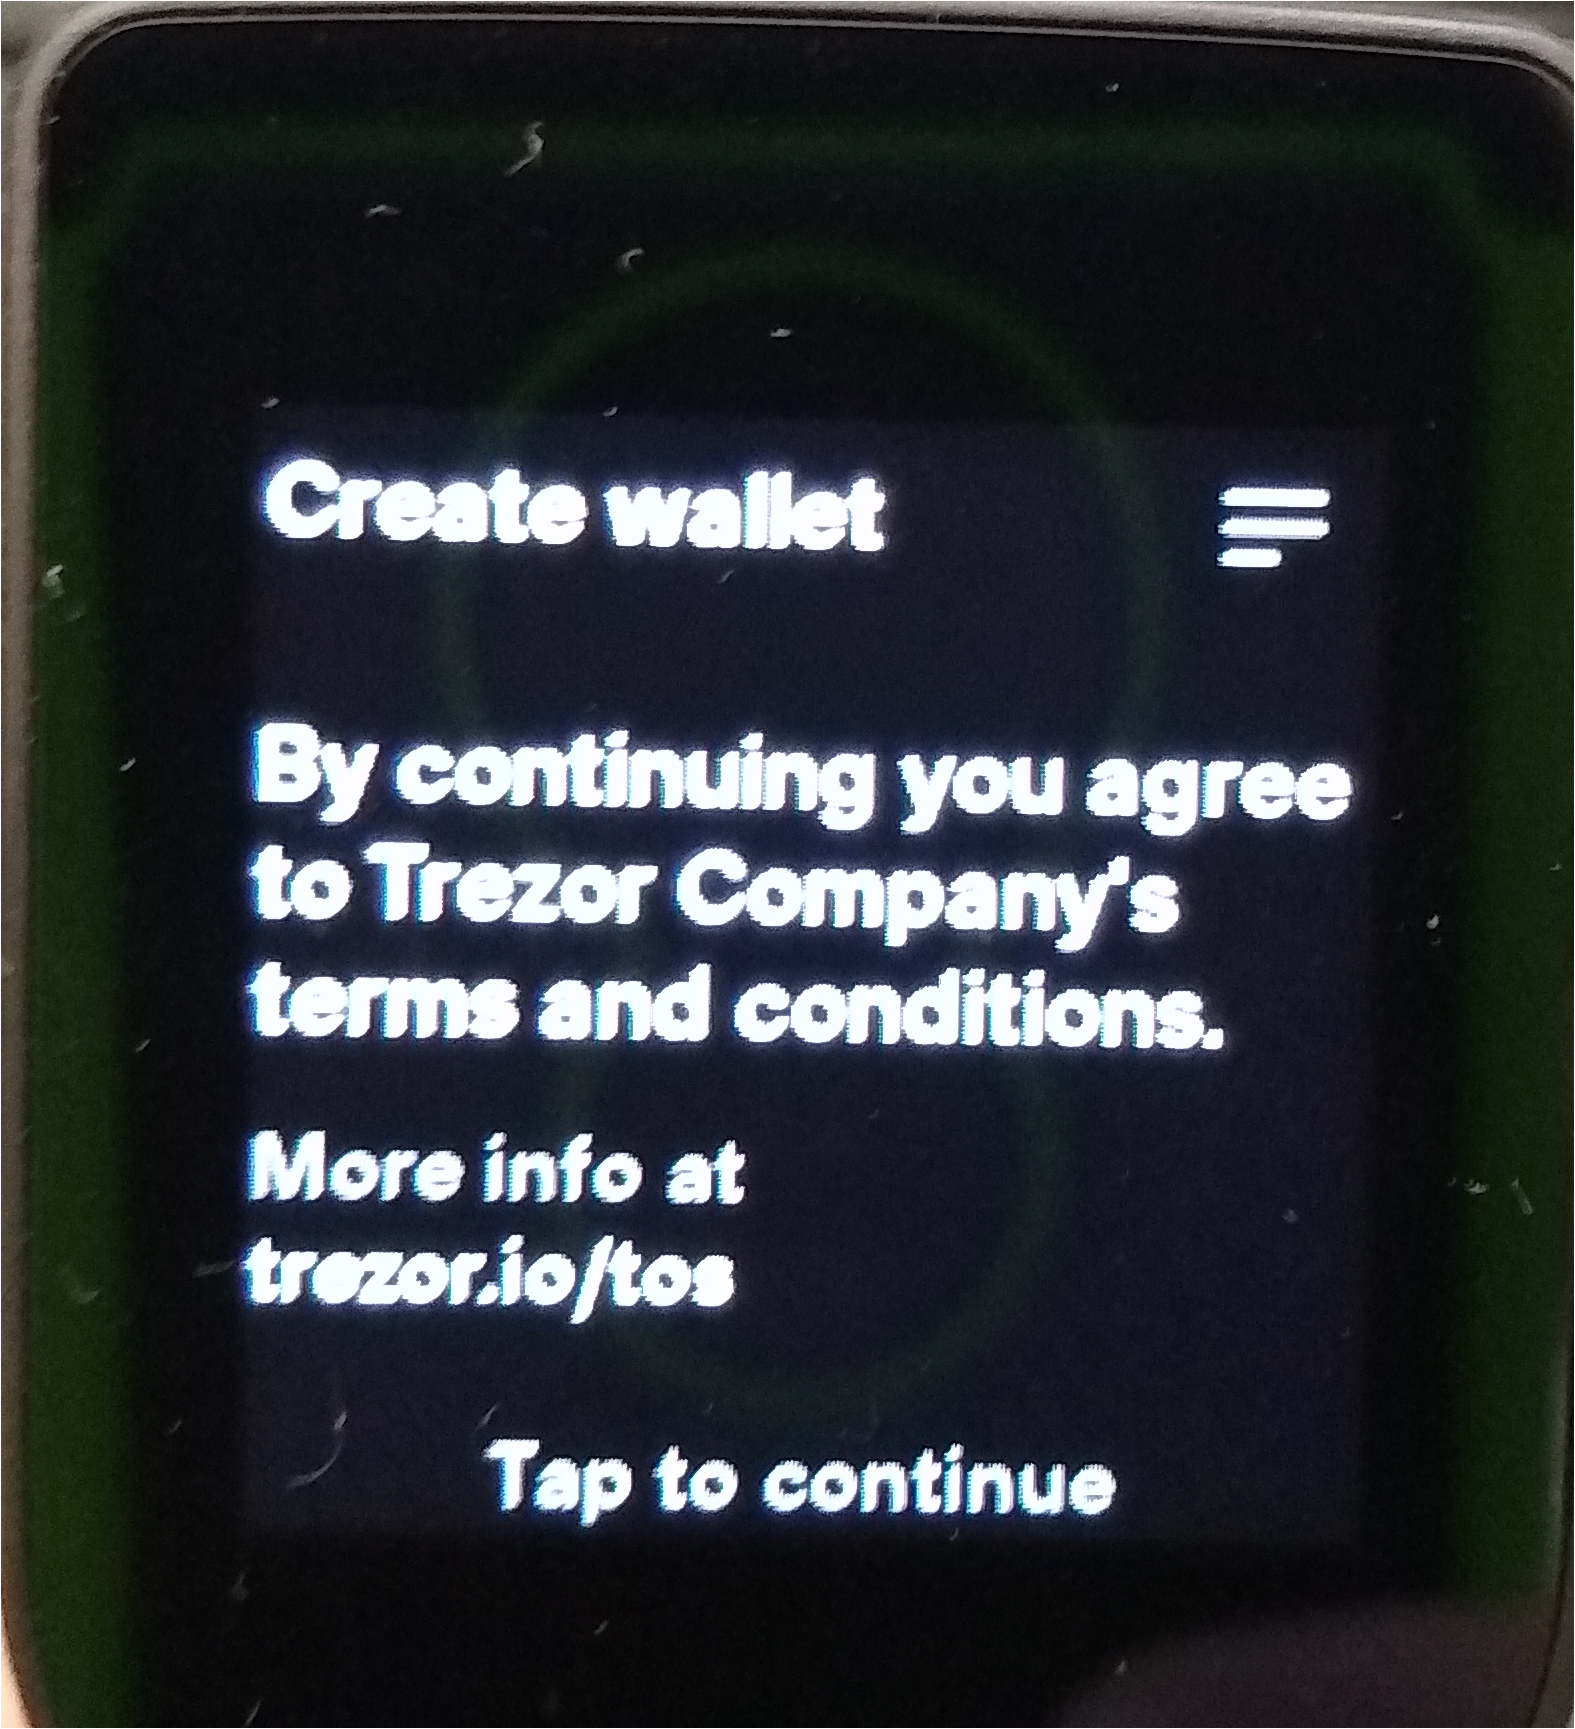
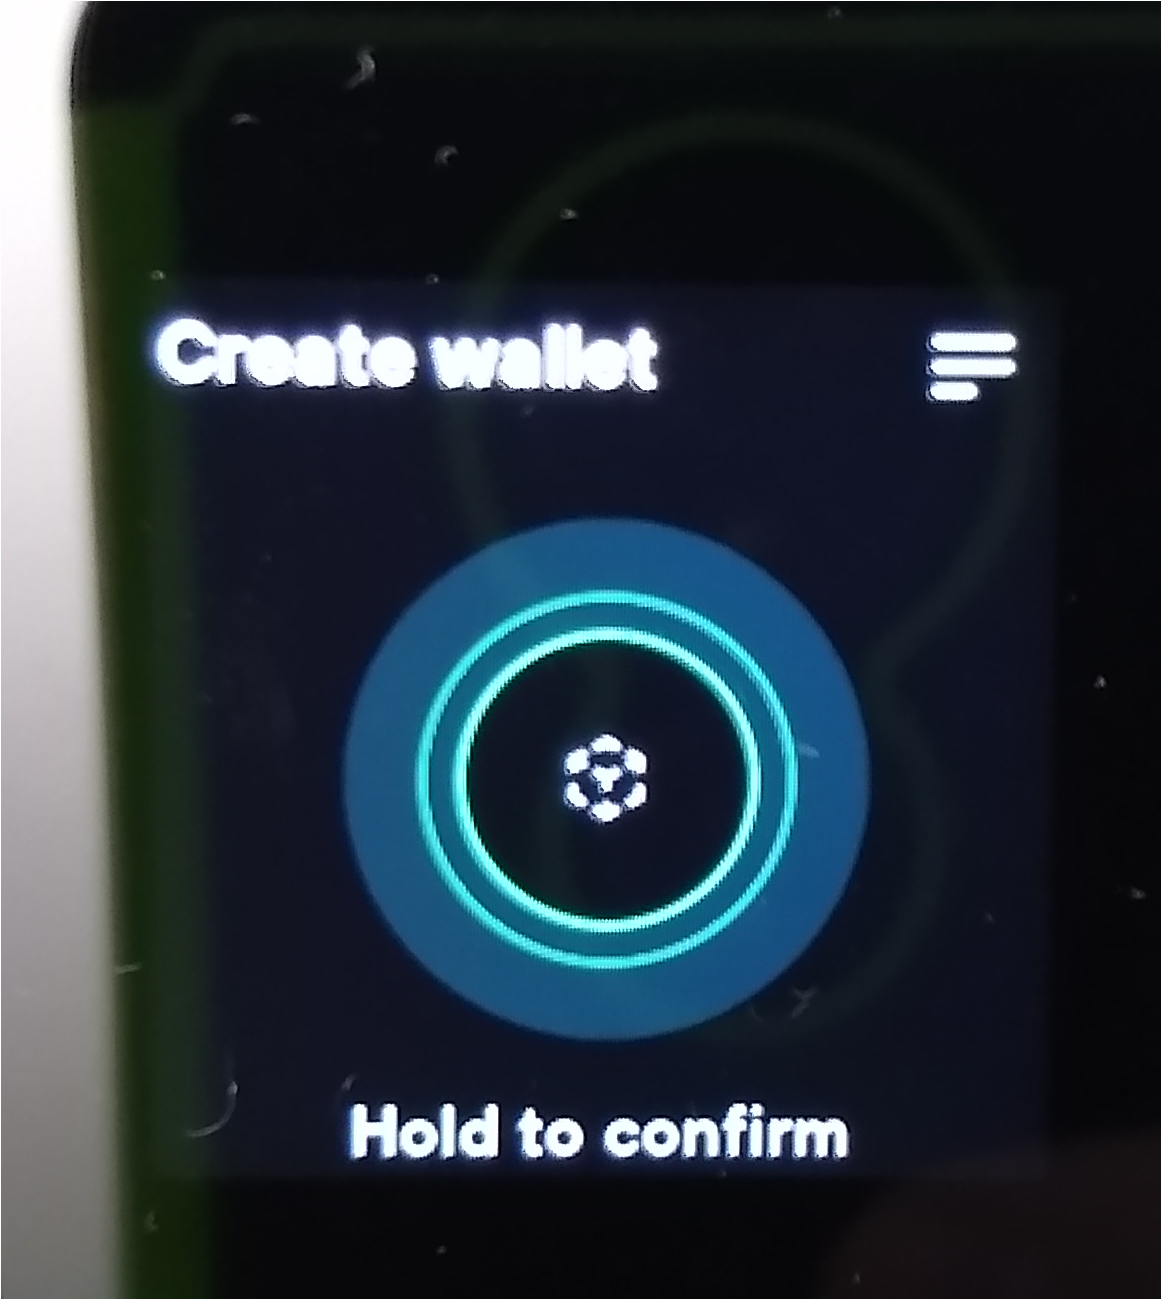
9. On the Trezor Safe 5 screen follow the instruction and press and hold to confirm initialization.
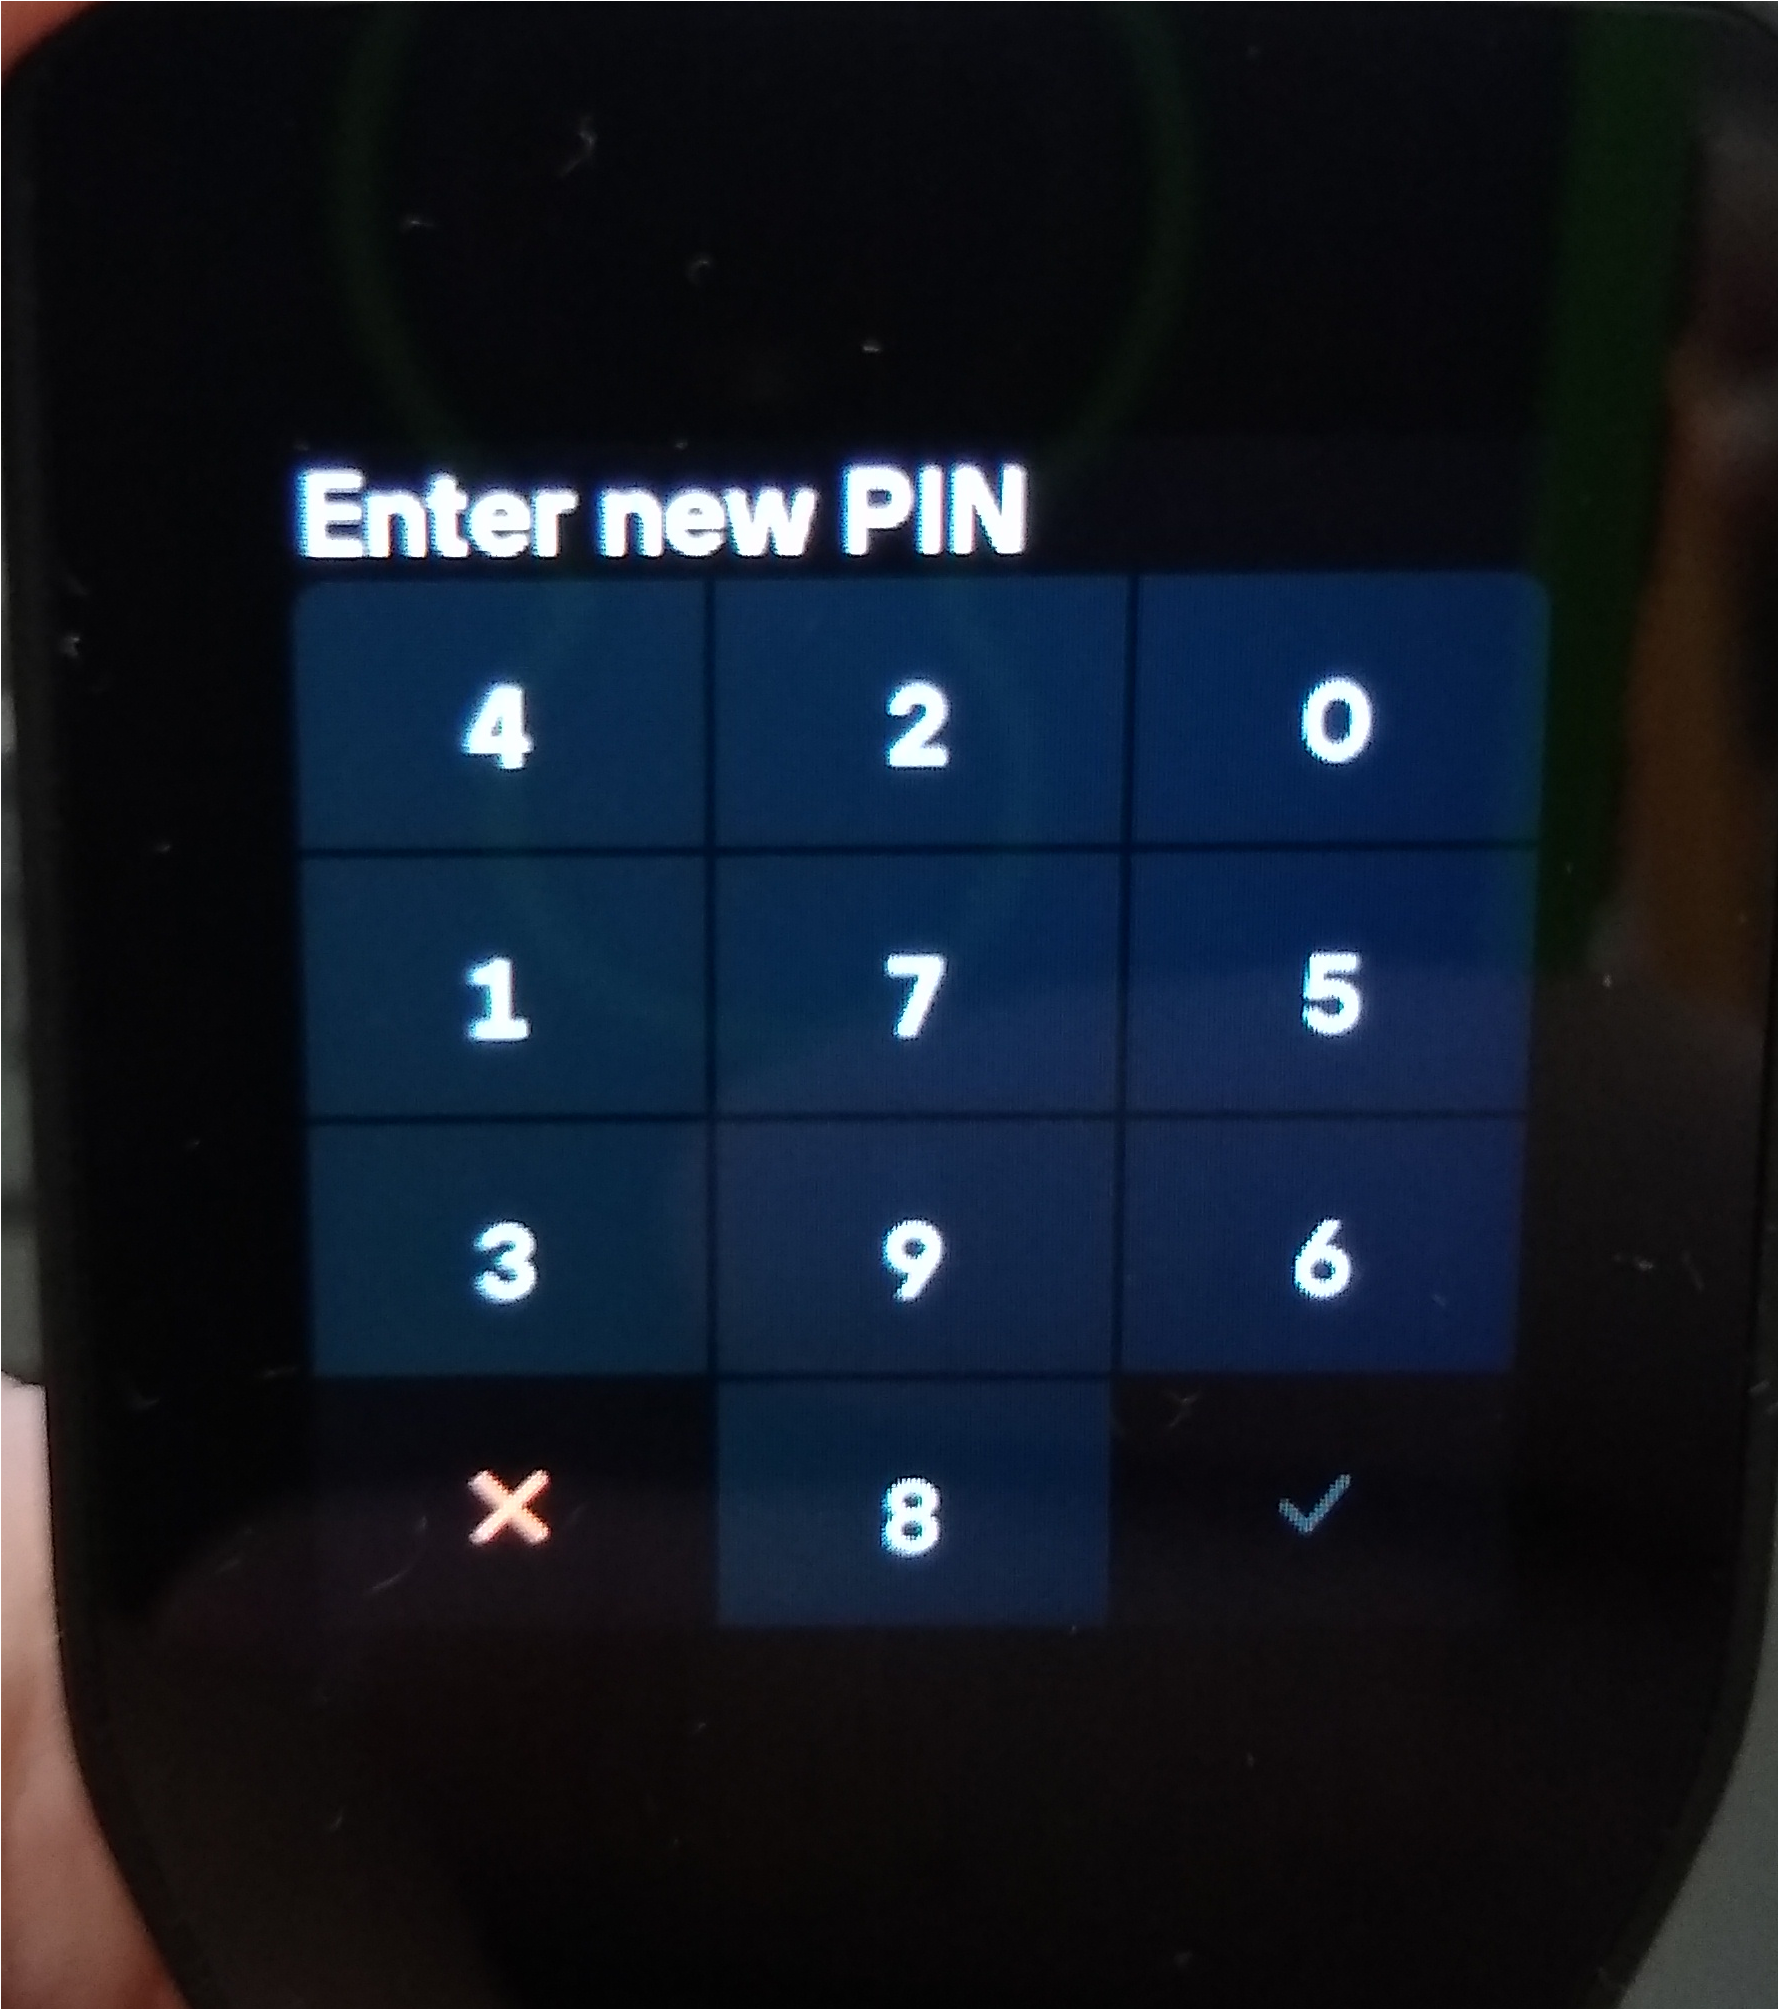
10. On the Trezor Safe 5 screen enter a pin to protect the Trezor Safe 5 against unauthorized use (and make a note of it so you don't forget it).
11. On the Trezor Safe 5 screen you should see a message indicating your wallet has been created and to tap the screen to continue. Do so.
12. On the Trezor Safe 5 screen you'll next see a create wallet backup message. Tap to continue with the backup.
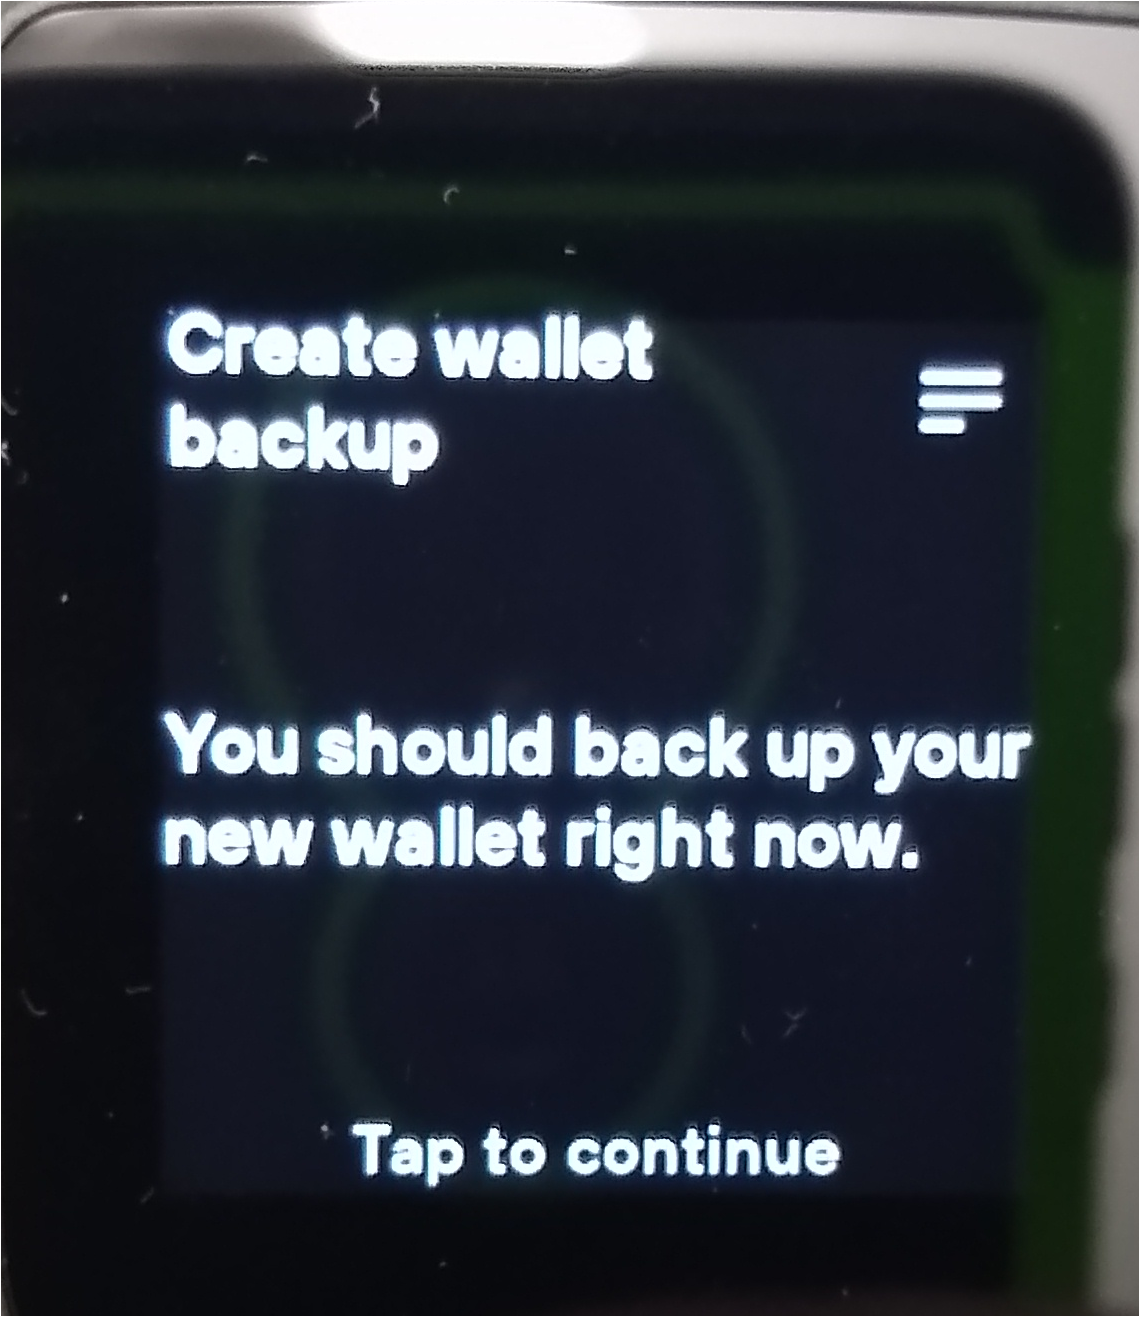
Note: You'll also see another 'create wallet backup' screen indicating that the 'wallet backup contains 33 words in a specific order'. Tap the screen to continue.
13. On the Trezor Safe 5 screen you'll see 'never put your backup anywhere digital'. Tap to continue
14. On the Trezor Safe 5 screen when you see the wallet backup instructions follow the directions as described and write your backup words down. Then tap the screen to continue after each word. You should see a 'I wrote down all 33 words in order.' when the process is complete and a hold to confirm, and you should put your finger on the screen, and hold it there until the 'check wallet backup' message appears.
15. When you see the wallet backup message tap the Trezor Safe 5 screen to continue.
16. Select the word from the list you wrote down until you've gone through each of the ones prompted for and see the success screen. Then tap to continue.
At this point you've successfully flashed and initialized your Trezor Safe 5 using free software.
Getting started guide: Using the Trezor Safe 5 on Debian 13 with Feather Wallet (Monero)
Debian has a strict approval processes for letting apps into it's core repository and Feather Wallet didn't hit the deadline for Debian 13. Fortunately Debian has something called a backports repository for applications that aren't approved before the deadline for a release. This is separate from the non-free repository and usually must be added manually.
1. To add backports on Debian 13 open a terminal and copy and paste the following command:
sudo tee /etc/apt/sources.list.d/trixie-backports.sources > /dev/null <<'EOF'
Types: deb
URIs: http://deb.debian.org/debian
Suites: trixie-backports
Components: main contrib
Signed-By: /usr/share/keyrings/debian-archive-keyring.gpg
EOF
sudo apt update
2. You can now install Feather Wallet using the terminal by copying and pasting the following command:
sudo apt install -y feather-wallet
3. Start Feather Wallet through the menu or via the terminal by entering the following command:
feather
4. Once Feather Wallet is open you'll get a setup wizard. On the initial How to connect screen you can leave the defaults set to auto connect unless you prefer a different option. Click the Next button to continue the setup.
5. On the How should feather route its network traffic screen you can use the default settings that mostly route traffic over Tor which is more secure except for the initial (partial) download of the Monero blockchain. Click the Next button.
6. For the Do you want to obtain third-party data? question you'll probably want to select the Enable option as this makes Feather Wallet easier to use. Hit the Next button to do so.
7. The next screen is asking if you want to create a new wallet or open an existing wallet. Here we're going to select to Restore wallet from... the Hardware device option. Select this and click the Next button.
8. For the Device type select Trezor from the drop down and then select the Create a new wallet file from device option. Then click the Next button to continue.
9. On the name screen you can leave the defaults and click the Next button.
10. On the Trezor Safe 5 screen tap the screen and enter your pin. Then click the green check mark to unlock the device.
11. Back on the desktop Feather Wallet will ask you to choose a name and directory for your wallet files. Click the Next button.
12. It'll then ask you to enter a password twice to protect your wallet, so do so. Then click the Create/Open wallet button.
13. Click the Yes button when asked 'Enter passphrase on hardware wallet?'
14. Then enter the password on the Trezor Safe 5 device and click the check mark when done.
15. When prompted to Confirm export on the Trezor Safe 5 device screen tap the screen to continue. You'll be prompted to tap it a 2nd time. Do so.
Note: If prompted on a Restore height screen enter todays date since we just created the wallet. Note the year is first, then the month, then the day. Then hit the Next button.
How to send crypto to your new wallet
1. Click the Receive tab and click the Create new address button.
2. Click on the highest numbered address.
3. Click on the Payment Request button.
4. You can enter the amount in dollars in the USD box that you want someone to send you.
5. You can now present the QR code to the individual or copy and paste the address in the monero box that says monero:[your monero address].
6. When your done click the Close button.
7. Your Trezor Safe 5 will ask you to refresh, so tap the screen to confirm and continue, and then tap the screen to accept.
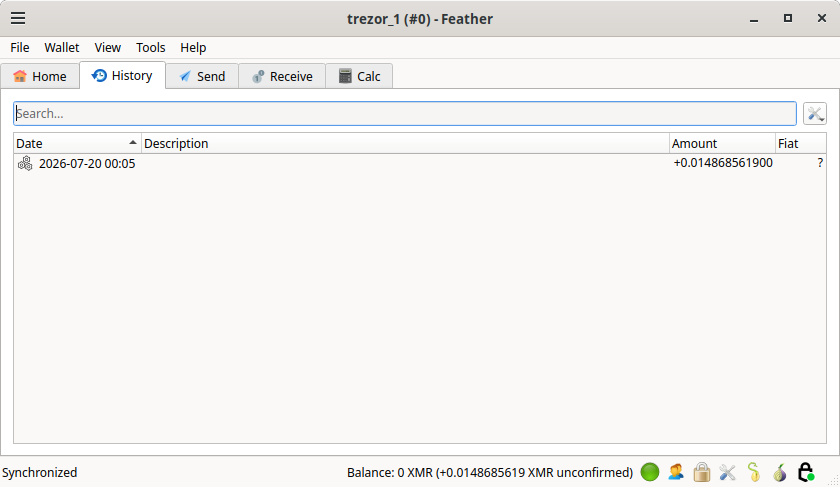
8. If you click on the history tab in Feather Wallet you'll see the payment has been received.
How to send cypto from your new wallet
1. Click on the Send tab in Feather Wallet.
2. Click the Scan button.
3. Hold up a phone with the Monero QR code and let Feather Wallet scan the Monero QR code.
Note: You'll have to click the Receive button on the receiving device to create a Monero QR code for Feather Wallet to scan.
4. In Feather Wallet you should now see an address in the Pay to field if scanning the QR code of the receiving wallet was successful.
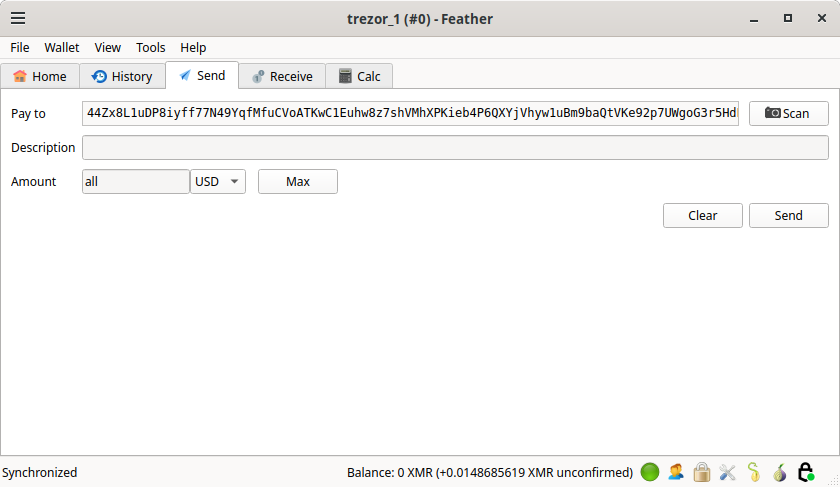
5. If the person receiving the Monero didn't enter an amount that you need to pay on their end you may need to do so in Feather Wallet. In that instance enter the amount in the Amount field in Feather Wallet. Make sure you select the currency as well. If your looking at a screen it'll probably indicate an amount in XMR, not a fiat currency like US dollar. However if your sending to an individual with a wallet similar to Feather Wallet then you might need to select the fiat currency like US dollars (USD) or Euros (EUR). If your paying an online retailer or brick and mortar merchant with a point of sale system ('cash' register) of some kind you'll almost certainly be presented the amount in XMR so make sure the XMR option is selected and the amount entered is in XMR.
6. Click the Send button.
Note: Be aware that if you've only recently received the Monero your trying to spend you won't be able to spend it for about ~20 minutes. You may get an error as a consequence that says 'Unable to create transaction'. Hopefully the purchase isn't urgent as you'll have to click OK and try again in a bit or otherwise utilize some other means of payment.
7. If successful the Feather Wallet app should present you with 'Action required on device: Enter your PIN to continue' after a moment or two.
8. On the Trezor Safe 5 enter your pin and tap the green check mark to continue.
9. You will now be presented with the Monero address your sending to. Check the address and then tap the Trezor Safe 5 screen to continue.
10. It'll then inform you of the amount your trying to send. Confirm this is correct and tap the screen to continue.
11. Then hold down your finger on the screen until it says signing transaction. This confirms you want to send the payment.
12. Back on your computer Feather Wallet will also ask you to confirm you want to send the transaction. Click the Send button one last time to confirm.
Note: The Trezor Safe 5 device is there to ensure that malware can't send crypto without your authorization. This is why your checking the amount being sent and the address on the device.
It's also important to note that if your using your computer to pay a merchant online that the amount presented could have been tampered with as well as the address it's showing you on screen with that of a malicious actor. The hardware wallet can't stop this sort of attack, but can limit your losses by ensuring the amount going out is at least what you expect it to be or thereabout.
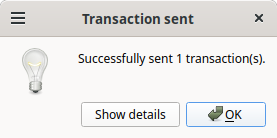
13. You'll see a final Transaction sent pop up window that says Successfully sent 1 transaction(s). Click the OK button. Your done!
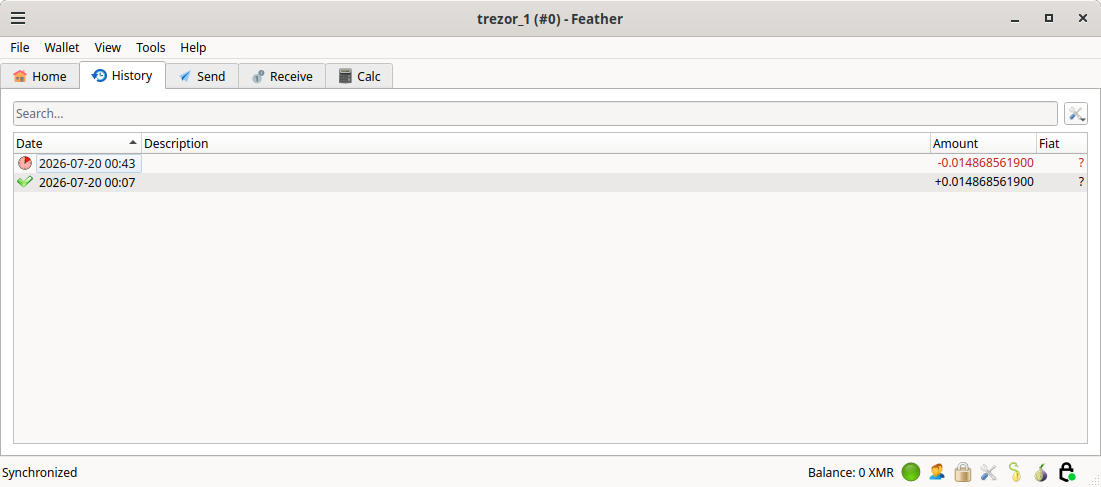
If you click the History tab in Feather Wallet you can now see the transaction. It'll show up in red until the transaction is fully confirmed on the Monero network. This may take about ~20 minutes. You'll also see a status indicator after a minute or two on the left indicating the number of confirmations that have occurred thus far.
Factory reset the Trezor Safe 5
1. Disconnect the Trezor Safe 5 from your computer.
2. Swipe Up: Place your finger at the bottom of the touchscreen and swipe upwards to the top.
3. Connect: While holding the swipe (or immediately after swiping up), connect the USB cable to your computer.
4. Bootloader Menu: The device will display a Bootloader screen. Tap the menu icon (or the screen if prompted) to access the bootloader options.
5. Select Factory Reset: Choose Factory Reset from the list.
6. Confirm: Press RESET and follow the on-screen instructions to wipe the device.